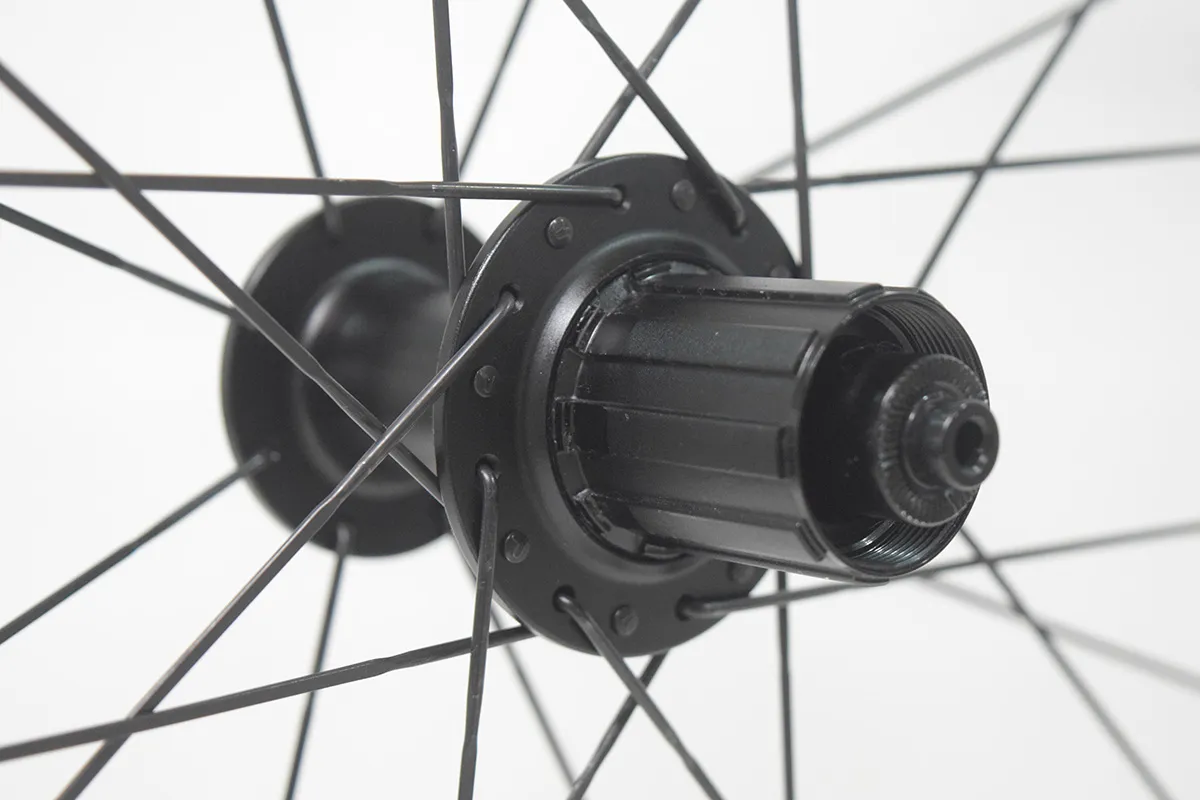

The Carbon Wheel
Compatibility
Checklist
A wheel can be the right diameter and still be the wrong purchase. Here is how to check the interfaces that matter—before a carbon wheelset reaches your workshop.
Not just wheel size
Compatibility means verifying the exact bicycle and wheel configuration across four connected systems: frame and axles, rim and tire, cassette and freehub, and brakes. Matching “700C,” “disc brake” or “12-speed” alone is not enough. Record the model numbers, check the manufacturer’s requirements, and treat any unresolved safety-critical detail as a reason to pause the order.
What must match before you buy carbon wheels?
| System | Record from your bicycle | Confirm on the wheelset | Do not assume |
|---|---|---|---|
| Frame and fork | Model, year, approved wheel size, axle type and hub spacing. | Matching front/rear hub dimensions and appropriate end caps. | Every disc-brake bike uses the same axles. |
| Rim and tire | Exact tire model, ETRTO size, setup and intended pressure. | Bead-seat diameter, internal width, bead design and approved tire combinations. | “Tubeless ready” means every tubeless tire fits. |
| Cassette and freehub | Cassette model, sprocket count, range and interface. | Correct HG, Micro Spline, XD, XDR, N3W or other specified body. | “Shimano-compatible” or “12-speed” identifies the interface. |
| Brakes | Rim or disc; rotor model, mount, diameter, thickness and pads. | Correct brake format, rotor attachment and installation clearances. | A matching rotor diameter proves full compatibility. |
| Operating limits | Rider, bicycle and luggage mass; riding conditions. | Load definition, intended-use category and relevant pressure limits. | A rider-only weight limit is a complete system-weight rating. |
Technical basis: Schwalbe tire/rim guidance, Shimano freehub guidance, SRAM cassette instructions, Park Tool rotor installation guidance and DT Swiss model-specific conversion support.
the dropouts. Wheel diameter is only one part of frame compatibility. The hub must seat correctly, the axle must secure it correctly, and the inflated tire must have adequate room.
Check wheel size, axle type and hub spacing separately.
Begin with the frame and fork manuals for your exact model and year. Identify whether each end uses a quick-release skewer or a thru-axle, then record the required hub spacing and axle diameter.
For example, a front hub described as 12 × 100 mm uses a nominal 12 mm thru-axle and 100 mm hub spacing. A rear 12 × 142 mm hub is not the same specification as a 12 × 148 mm Boost hub. “The axle goes through” is not a valid fit test.
Keep hub dimensions separate from replacement thru-axle dimensions. A bicycle’s thru-axle also has a specific overall length, thread pitch and seating arrangement. Two bicycles using 12 × 142 mm rear hubs do not necessarily use interchangeable thru-axles.
- Record front and rear axle standards independently.
- Confirm that the chosen wheelset configuration includes the required end caps.
- Check any proprietary wheel dish or frame-offset requirement.
- Use only conversions approved for the exact hub model.
Conversion availability is hub-specific. DT Swiss directs buyers to the exact product record rather than a universal adapter assumption.
End caps are not a universal Boost conversion.
Do not treat 142 mm and 148 mm rear hubs as interchangeable because replacement end caps look similar. Boost changes the system geometry, including the relationship between hub, cassette and rotor. A conversion requires explicit approval and the correct components; a random spacer is not an engineering solution.
Published DT Swiss conversion information specifically distinguishes end-cap replacement from converting non-Boost spacing to Boost.
Carbon wheel tire compatibility starts with the ETRTO number.
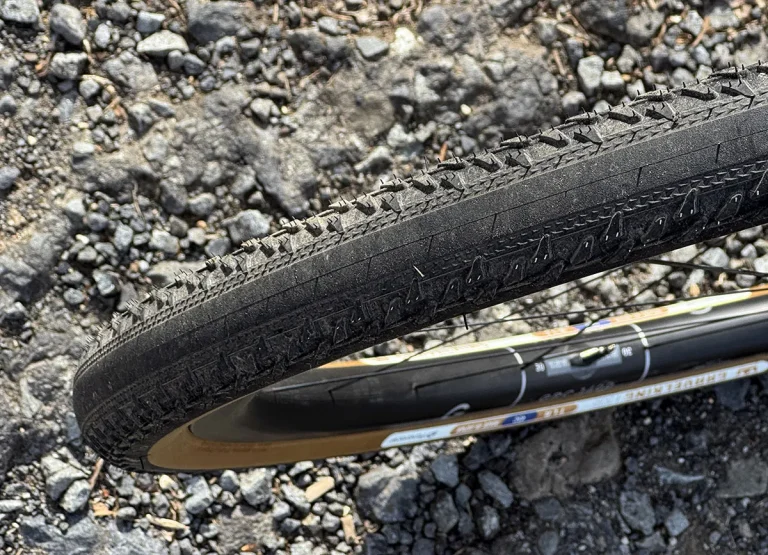
Read the tire sidewall, not only the marketing size. In 40-622, “40” is the nominal tire width in millimeters and “622” identifies the bead-seat diameter it is designed to fit. The tire and rim bead-seat diameters must match.
Common 700C road wheels and 29-inch MTB wheels share a 622 mm bead-seat diameter. That does not make their tires, rim widths, load ratings or intended uses interchangeable. Common 650B and 27.5-inch wheels use a 584 mm bead-seat diameter.
After checking diameter, check the exact tire width against the rim’s internal width and both manufacturers’ compatibility guidance. A large printed tire range on a product page should not replace the approved combination for your particular tire and rim.
Tire sizing and tire-width/rim-width matching: Schwalbe.
Hooked vs hookless carbon rims: verify the complete combination.
“Tubeless ready” describes a setup capability, not a universal tire approval. Confirm whether the rim is hooked or hookless, whether your exact tire is approved for that rim type and width, and which pressure limits apply. Also verify the required rim tape, valve and sealant instructions.
A tube does not make an incompatible hookless tire safe.
Schwalbe permits its approved TLE/TLR tires on hookless rims with or without an inner tube, subject to the rim manufacturer’s tire-width requirements. That does not authorize a conventional tube-type tire on a hookless rim.
Schwalbe cites a 5 bar road-hookless maximum under ETRTO guidance, approximately 72.5 psi. This is a ceiling in that context—not a target pressure or permission to use every tire at 5 bar. Follow the lowest applicable limit for the exact approved tire/rim combination; some combinations have lower limits.
Hookless tire type, inner-tube use, width restrictions and pressure guidance: Schwalbe.
Then check the tire against the bicycle.
Tire-to-rim compatibility and tire-to-frame clearance are different checks. Inflate the approved tire on the intended rim, allow it to stabilize according to the manufacturer’s instructions, and measure its actual width and height. Inspect the fork crown, fork legs, chainstays, seatstays, seat tube, bridges, fenders and any other close point.
Use the bicycle manufacturer’s required clearance, including allowance for mud, wheel deflection and accessories. There is no single clearance number that can safely replace every road, gravel and MTB frame manual. A tire that clears on a workstand may still be unsuitable in use.
Pre-purchase approval should come from the frame maker’s limits and the exact tire/rim information. Post-installation measurement is a final verification, not a substitute for approval.
is not an interface. Count the sprockets, then read the cassette model number. The model determines the mounting standard and any specified spacer.
Match the cassette to the freehub—not just the drivetrain brand.
A Shimano road cassette, a Shimano MTB cassette and a SRAM cassette can all have 12 sprockets while requiring different freehub bodies. Conversely, some SRAM cassettes use an HG-style interface rather than XD or XDR. Brand and sprocket count are useful clues, not proof.
Find the cassette model printed on the lockring or sprocket assembly, then check its installation documentation. If you are replacing the cassette as well as the wheels, separately verify shifter, derailleur, chain and cassette-range compatibility.
| Interface | What to verify | Frequent purchasing error |
|---|---|---|
| HG-style | Exact body version and usable length. Many Shimano 11-/12-speed road cassettes use the established road HG body, but exceptions and spacer requirements must be checked. | Assuming every older HG body accepts an 11-speed road cassette. |
| Micro Spline | The cassette explicitly specifies Micro Spline. | Ordering HG because both options are described as Shimano-compatible. |
| XD | The cassette specifies XD; confirm the approved driver. | Assuming every SRAM cassette uses XD. |
| XDR | XDR cassettes require XDR. An XD cassette can fit an XDR body with SRAM’s specified 1.85 mm spacer. | Trying to install an XDR cassette on the shorter XD body. |
| Campagnolo / N3W | Exact cassette generation and freehub specification. Certain traditional Campagnolo cassettes require the approved N3W extension adapter and matching lockring. | Treating a generic Campagnolo option as an automatic N3W match. |
Shimano distinguishes HG, HG L2 and Micro Spline applications; SRAM specifies XD/XDR fit and spacers; N3W compatibility depends on the cassette and adapter arrangement.
The correct spacer stack, lockring engagement and specified tightening procedure also matter. Shimano’s HG700/HG800 11-speed road cassettes, for example, require a 1.85 mm spacer on the longer road HG body. That is a model-specific rule—not permission to add spacers until an unrelated cassette “feels tight.”
Shimano’s documented cassette/body and spacer examples.
A replacement freehub body must also be approved for the exact hub. Ratchet architecture, axle, seals and drive-side end cap can differ. Do not order a body solely because it is labeled “XDR” or because its outside shape resembles the original.
Exact hub conversion options should be checked against the manufacturer’s product-specific support information.
Disc brake wheel compatibility has more than one interface.
Start by separating rim-brake and disc-brake wheelsets. A disc-only carbon rim is not a rim-brake surface. Likewise, a wheel without the correct disc rotor attachment is not made disc-compatible by installing a different brake caliper.
For disc wheels, work from the hub outward.
- Rotor attachment: confirm Center Lock or six-bolt on the chosen hub.
- Rotor diameter: check front and rear independently against frame, fork, caliper and adapter requirements.
- Rotor thickness and braking track: verify approval for the exact brake and pad combination.
- Lockring or bolts: use approved hardware, the correct tool and manufacturer-specified torque.
- Physical clearance: check the lockring, fork, caliper and rotor assembly after the wheel is seated correctly.
Center Lock and six-bolt identify rotor-to-hub attachment, not whether the caliper is hydraulic or mechanical. A wheel change can sometimes retain the existing brake system while requiring a rotor with the correct hub interface and otherwise matching brake specifications.
Rotor interfaces and installation for mechanical and hydraulic disc systems: Park Tool.
An adapter solves only its approved interface problem.
Approved adapters can mount certain six-bolt rotors on Center Lock hubs. Do not assume the reverse conversion is available, or that an adapter permits an unsupported rotor diameter or thickness. Check its restrictions, axle compatibility, lockring arrangement and clearances.
Adapter direction and installation requirements: Park Tool.
Rotor thickness deserves particular attention. SRAM’s HS2 is specified at 2.00 mm, illustrating why two rotors of equal diameter are not automatically equivalent. SRAM does not approve HS2 for other manufacturers’ brakes merely because the rotor can be inserted between the pads.
HS2 dimensions and cross-brand approval limitation: SRAM.
For rim-brake carbon wheels, check a different set of limits.
Confirm a dedicated brake track, caliper opening, rim external width, pad alignment and the wheel manufacturer’s approved brake pads. Follow its heat-management and braking instructions. Do not transfer pads previously used on aluminum rims to carbon rims; embedded aluminum debris can damage the carbon braking surface.
DT Swiss’s carbon-rim pad warning explains the contamination risk. Its named pad approvals apply to its own wheels, not automatically to another manufacturer’s carbon rims.
Check load, accessories and installation—not only interfaces.
Load and intended use
Obtain the wheelset’s published weight-limit definition and intended use. If the limit is maximum system mass, account for the rider, bicycle, luggage, bottles and equipment. If it is a rider-only limit, do not silently reinterpret it as a system-mass rating.
A road wheel’s dimensions do not establish approval for loaded bikepacking, MTB impacts, jumps or e-bike use. Ask for confirmation where the listing is incomplete.
Small parts that change the purchase
- Valve length must suit the rim depth and pump connection.
- Rim tape width and installation must follow the rim instructions.
- Fenders and speed sensors must retain the required clearances.
- Confirm whether rotors, lockrings, cassette spacers, valves and tape are included.
- Verify that local service and approved replacement parts are available.
These are verification prompts, not universal load ratings or installation specifications. The current manuals for the exact components control the final setup.
Turn a wheelset listing into a purchase-ready specification.
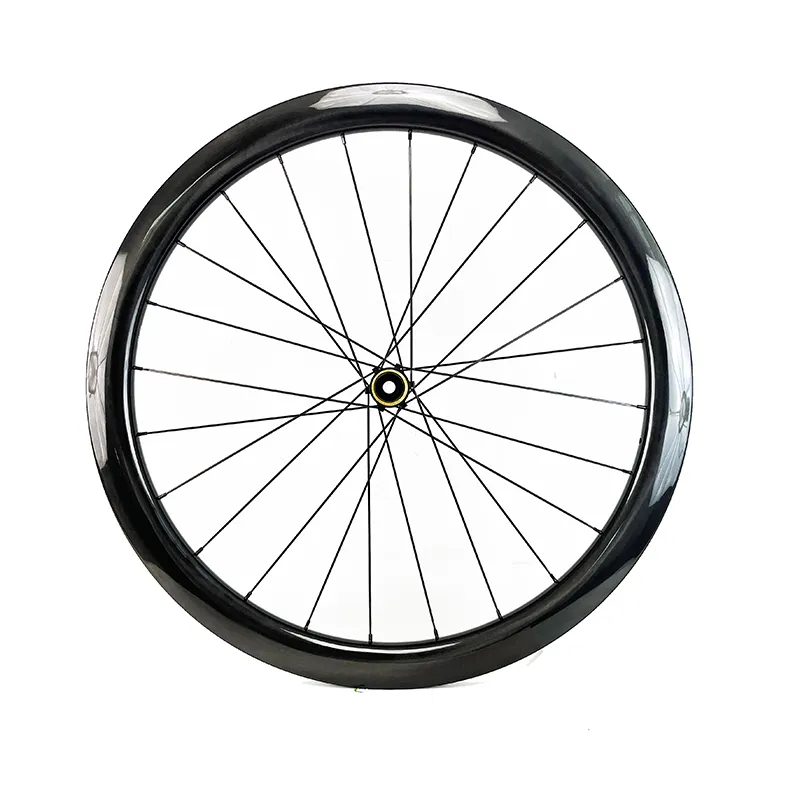
A useful listing tells you what is already known. A responsible buying decision also identifies what still needs confirmation. The XDRU CHASE 45 AR is a practical example.
Carbon road wheelset
45 mm listed rim depth
21 mm internal / 28 mm external width
Already stated on the listing
Disc-brake format, 12 × 100 mm front axle interface, 12 × 142 mm rear axle interface, tubeless-ready rims, and a listed HG 11–12-speed freehub with XDR optional.
Still confirm for your build
Exact rotor attachment, bead design, approved tire/pressure combination, load limit and selected freehub configuration. Do not infer those details from “disc brake” or “tubeless ready.”
Specifications and the distinction between stated and unstated details reflect the retrieved XDRU product page.
Apply the same method when comparing the XDRU carbon road wheelset range : eliminate incompatible configurations first, then compare rim depth, weight, aerodynamics and price. A lighter or deeper wheel is not an upgrade if its interfaces do not match your bicycle.
XDRU road-wheel category verified. No category-wide compatibility approval is implied.
Your carbon wheelset fit record.
Complete this brief and send it with your inquiry. Use “unconfirmed” rather than guessing. Photographs help, but model numbers and manufacturer documentation are more decisive.
- Bicycle
- Brand / model / model year / frame size: __________________
- Wheel diameter
- Required bead-seat diameter / approved wheel-size option: __________________
- Front interface
- Quick release or thru-axle / diameter / hub spacing: __________________
- Rear interface
- Quick release or thru-axle / diameter / hub spacing / special offset: __________________
- Tire setup
- Exact model / ETRTO size / tube or tubeless / intended pressure: __________________
- Rim approval
- Internal width / hooked or hookless / tire approval / pressure limits: __________________
- Clearance
- Frame/fork limits / required gaps / fenders and other restrictions: __________________
- Cassette
- Exact model / range / freehub interface / specified spacers: __________________
- Brakes
- Caliper model / rotor mount / front-rear diameters / thickness / pads: __________________
- Load and use
- Rider + bicycle + luggage mass / intended terrain / wheel approval: __________________
- Order contents
- End caps / freehub / tape / valves / lockrings / adapters: __________________
Fit approved does not mean installation checked.
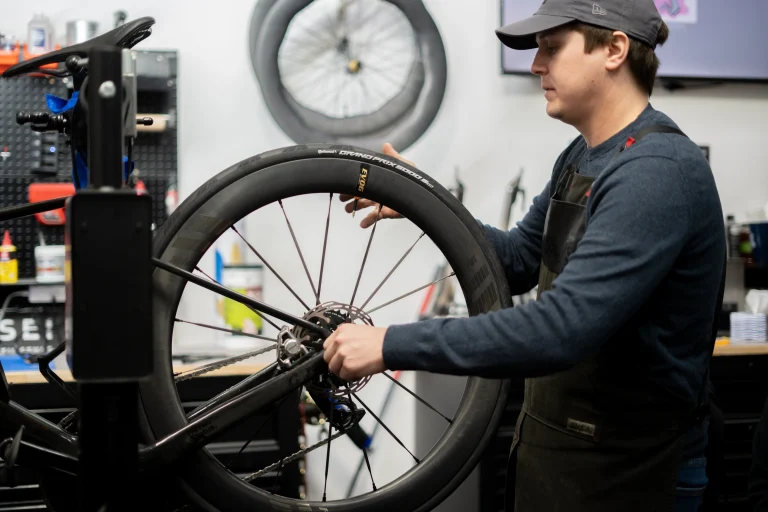
Inspect the delivered configuration against the order before mounting tires or transferring components. Then follow the installation manuals and use the specified torque values; there is no single safe torque number for every axle, rotor fastener and cassette lockring.
- The wheels seat fully and the correct axles secure them without forcing.
- The wheel is centered as intended by the bicycle’s design, with no unexplained play.
- The cassette has the specified spacers, correct lockring engagement and no axial looseness.
- The tire beads are evenly seated and the pressure is within every applicable limit.
- Actual tire clearances meet the frame and fork instructions.
- Rotors and lockrings clear nearby parts; the brake system is adjusted and functions correctly.
- Shifting is checked through the full range, including derailleur limits and spoke clearance.
- A controlled low-speed brake and shifting check is completed before normal riding.
Rotor installation must follow the manufacturer’s orientation, hardware and torque requirements; cassette installation is also interface-specific.
Stop if the setup needs force or unexplained workarounds.
Frame spreading, improvised axle spacers, a tire requiring excessive pressure to seat, insufficient rotor clearance or a cassette that will not tighten correctly are not normal finishing adjustments. Resolve the mismatch with the component manufacturer or a qualified bicycle mechanic before riding.
Carbon wheel buying FAQ.
Will any 700C carbon wheelset fit my road bike?
No. The nominal wheel diameter does not establish axle compatibility, brake format, rim/tire suitability, frame clearance or cassette fit. Check the complete configuration rather than using “700C” as a universal fit label.
Tire/rim dimensions, hub conversions and rotor interfaces are distinct requirements.
Can I use my existing tires on wider carbon rims?
Only if the exact tire model and size are approved for the new rim’s internal width and bead design. Recheck pressure limits and measure actual inflated clearance. A wider rim does not automatically preserve the old tire’s dimensions or frame fit.
Schwalbe requires tire width, rim width and rim-type guidance to be considered together.
Do Shimano 12-speed road and MTB cassettes use the same freehub?
Not as a blanket rule. Many Shimano 12-speed road cassettes work with road HG bodies, while Shimano’s Micro Spline MTB cassettes require Micro Spline. Dedicated road HG L2 bodies add another distinction. Check the exact cassette model.
Shimano’s freehub compatibility guide.
Can an XD cassette fit an XDR freehub body?
SRAM specifies that an XD cassette can be installed on an XDR body with a 1.85 mm spacer behind it. The reverse is not equivalent: an XDR cassette requires the XDR interface and does not fit the shorter XD body.
SRAM cassette installation requirements.
Can I keep my brake rotors when replacing the wheels?
Potentially, if the rotor attachment matches—or an explicitly approved adapter is available—and the rotor remains approved for the brakes. Check diameter, thickness, wear, hardware and clearances. Matching “disc brake” labels is not enough.
Rotor interface and adapter guidance: Park Tool. Brake-specific rotor approval matters independently.
Does tubeless ready tell me whether a carbon rim is hookless?
No. Confirm the bead design directly. Tubeless-ready hooked and hookless systems exist, and their tire requirements can differ. On hookless rims, installing a tube does not cancel the requirement for an approved tire and pressure combination.
Schwalbe’s hookless guidance and road-tubeless explanation.
Editorial scope: this checklist helps identify compatibility questions; it does not certify an individual bicycle build. Current documentation for the exact frame, fork, wheel, tire, cassette and brake takes precedence. All diagrams are explanatory and not to scale. Product specifications cited above are manufacturer-listed, not independent test results.