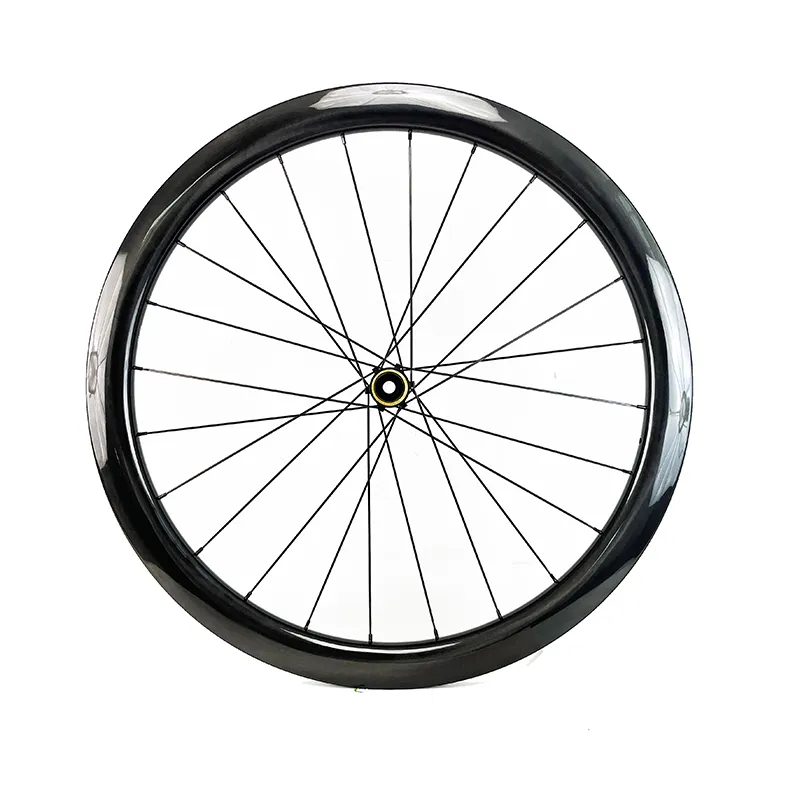

XDRU technical journal / braking interfaces
Carbon wheels.
The right rotor.
Every interface checked.
Matching disc brake rotors to a carbon wheelset is not just a Center Lock vs 6-bolt decision. The hub determines how the rotor attaches. The bicycle and brake system determine whether that rotor can be used safely.
rule
Start with the hub’s rotor mount, then verify rotor diameter, thickness, pad compatibility, lockring clearance and the correct caliper adapter. Finally, check the complete wheel installation. A rotor that mounts to the hub is not automatically compatible with the brake or the bike.
Does a carbon disc wheelset need special brake rotors?
Not simply because its rims are carbon. On a disc-brake bicycle, the pads act on a rotor attached to the hub, not on the rim. Carbon rim depth, rim finish and spoke material do not define the rotor mounting standard. The relevant specification is the disc-brake hub fitted to that exact wheelset.
This distinction matters when upgrading from alloy wheels to carbon wheels. You may be able to transfer your existing rotors, but only after confirming their mounting interface, condition and compatibility with the new installation. Conversely, buying new rotors does not resolve an incorrect axle, end-cap or wheel specification.
Keep three different interfaces separate
Center Lock or 6-bolt describes the rotor-to-hub connection. Flat mount or post mount describes the brake-caliper mounting system. A specification such as 12 × 100 mm describes a hub axle configuration. None of these automatically determines the other two.
Center Lock vs 6-bolt rotors: what actually changes?
Center Lock: splines locate, a lockring retains
The rotor slides onto matching hub splines and is secured with a lockring. The interface uses one retaining ring rather than six individual bolts, which can make rotor changes convenient when you have the correct tool.
- Check whether the lockring uses internal splines or external notches.
- Confirm tool access around the axle and end cap.
- Check lockring clearance inside the frame or fork.
- Do not assume a new rotor includes the correct lockring.
6-bolt: six fasteners secure the rotor
The rotor attaches to six threaded mounting points on the hub. The bolt heads commonly use a T25 Torx interface, but inspect the supplied hardware rather than assuming every fastener is identical.
- Use the specified rotor bolts and retaining hardware.
- Start all bolts by hand to avoid cross-threading.
- Tighten progressively in a star pattern.
- Follow the specified torque and thread-retention instructions.
| Question | Center Lock | 6-bolt |
|---|---|---|
| What retains the rotor? | A lockring over the hub’s splined rotor mount. | Six bolts through the rotor’s mounting holes. |
| What tool is needed? | A compatible internal-spline or external-notch lockring tool, plus a suitable torque wrench. | The correct driver bit, commonly T25, plus a suitable torque wrench. |
| Is one always lighter? | No universal answer. Compare the complete hub, rotor and hardware package, including any adapter. | |
| Does the mount determine braking power? | No. Mount type alone does not establish stopping performance. Rotor size, brake design, friction materials, condition and heat management still matter. | |
| Best reason to choose it? | Compatibility with the intended hub, rotor and available service tools. | Compatibility with the intended hub, rotor and available service tools. |
Can you fit a 6-bolt rotor to a Center Lock hub?
Yes, with a purpose-designed adapter that is approved for the exact combination. The adapter fits the Center Lock hub and provides the attachment arrangement for a compatible 6-bolt rotor. This is not a universal solution for every rotor, axle or lockring.
Rotor construction matters here. Shimano’s SM-RTAD05, for example, is intended to attach compatible 6-bolt rotors to Center Lock hubs, but excludes certain 6-bolt rotors with aluminum adapters/carriers. Check the adapter’s actual compatibility list, including diameter limits and hardware requirements, before buying.
An adapter does not make the rest of the brake compatible
It does not approve a thicker rotor for your caliper, a larger rotor for your fork, or an unsuitable pad compound. If you are buying a new wheelset and new rotors together, a directly matching interface usually avoids an unnecessary additional compatibility check.
140 mm, 160 mm or 180 mm: which rotor size fits?
Rotor diameter is a bicycle-and-brake decision, not a carbon-rim decision. Confirm the permitted front and rear sizes separately. The fork’s limit may differ from the frame’s, and the caliper mount or adapter may support only specific configurations.
A replacement rotor of the same approved diameter is normally the simplest starting point. Changing diameter can require a different caliper adapter or a different approved mounting orientation. Flat-mount and post-mount adapters are not interchangeable. Nor should a 200 mm rotor be treated as a 203 mm rotor.
Illustrative comparison: 160 ÷ 140 ≈ 1.14. If effective braking radius scales proportionally with nominal diameter and tangential pad force remains unchanged, the larger rotor gives approximately 14% more braking torque. This is not a claim of 14% shorter stopping distance.
For gravel, do not reduce the decision to rider weight alone
Rider and luggage mass, descent length, gradient, speed and braking technique all affect braking demands. Select an approved brake configuration for the intended riding rather than assuming that every gravel bike should use the same rotor sizes.
Rotor thickness and brake pads: the hidden fitment checks
Two 160 mm Center Lock rotors can share the same hub interface and still differ in thickness, braking-track design or brake-system approval. Diameter and mounting standard are only the beginning.
Check nominal and minimum thickness
Use the brake manufacturer’s approved rotor specification. SRAM’s HS2, for example, has a nominal thickness of 2.00 mm. That published dimension is not permission to fit it to any road or gravel caliper.
For an existing rotor, measure the worn braking track at several points with a suitable measuring tool. A micrometer is useful where an unworn edge could interfere with a caliper measurement. Compare the result with the minimum marked on the rotor or specified for that exact model.
Check the entire friction pairing
Confirm that the pad compound, pad shape and braking track are approved together. A “resin pads only” marking is a restriction, not a suggestion. Do not fit metallic/sintered pads to that rotor unless the manufacturer explicitly permits them.
Brand names alone are not a compatibility chart. A rotor that physically passes between the pads may still be an unapproved pairing. Consult the documentation for the exact brake and rotor, especially when mixing manufacturers.
Do not solve an incompatible rotor by forcing the pistons back
Piston resetting may be part of an approved service procedure, but it does not make an unsupported rotor thickness safe. Check the specification first. Stop if the wheel cannot rotate freely or the brake does not operate normally.
Center Lock lockrings: internal vs external tool interfaces
“Center Lock compatible” does not guarantee that every lockring and tool combination will work around your axle. The lockring must be compatible with the assembly, the tool must fully engage it, and the installed parts must clear the surrounding bicycle.
- Internal-spline lockrings use a compatible cassette-style tool. Some axle or end-cap dimensions prevent that tool from engaging.
- External-notch lockrings use a compatible external lockring tool. Confirm the exact tool dimensions rather than assuming all bottom-bracket tools fit.
- Check for contact between the installed lockring and the fork, frame or other adjacent parts. Tool access alone is not enough.
- Follow the actual lockring torque specification. Around 40 N·m is a common example, not a universal setting for every assembly.
How to install disc brake rotors on carbon wheels
Use the current instructions for the hub, rotor, brake and bicycle. The sequence below is a compatibility-focused workshop checklist, not a replacement for those service procedures.
Identify every component before fitting anything
Record the front and rear hub interfaces, rotor models and diameters, brake models, pad type and required hardware. Inspect reused rotors for wear, cracks, significant distortion and contamination. Replace parts outside their service limits.
Prepare clean mounting surfaces
Remove dirt and debris from the hub’s rotor mounting face or splines. Handle the rotor by its center or edges and keep oils away from the braking track. Clean the track using the manufacturer-approved method; Park Tool specifies isopropyl alcohol and a clean rag in its installation guide.
Follow the rotor’s direction arrow
The rotation arrow must match forward wheel rotation. Check the marking rather than guessing from the appearance of the cutouts. Make sure the rotor seats fully and evenly.
Secure the correct mounting hardware
For 6-bolt rotors, start the specified bolts by hand and tighten progressively in a star pattern. Typical published torque values are around 4–6 N·m, but the exact component instructions take precedence. Use the required thread-retention system; do not substitute grease for threadlocker.
For Center Lock, hand-start the correct lockring without cross-threading, fully engage the tool and tighten to the specified torque. Follow the component instructions for any thread preparation, keeping the braking surfaces uncontaminated.
Install and secure the wheel correctly
Fit the correct end caps and guide the rotor between the pads without forcing it. Seat the wheel fully and secure the axle according to the bicycle manufacturer’s procedure and torque. Do not use caliper adjustment to disguise an incorrectly seated wheel.
Check alignment, lever feel and braking
Spin the wheel, inspect clearance and operate the brake. If alignment is required, use the procedure for that exact mechanical or hydraulic caliper. With new pads or rotors, complete the brake manufacturer’s bed-in procedure in a safe area before demanding riding.
Never confuse the torque settings
A Center Lock lockring, a 6-bolt rotor fastener, a caliper bolt and a thru-axle have different jobs and may require very different torque values. Do not transfer one specification to another. Never apply a lockring torque value to a small rotor bolt.
Disc brake rotor rub after a wheel change: check the cause first
A rotor rubbing after fitting a new carbon wheelset does not automatically mean the wheel is defective. Small differences in rotor position can require caliper realignment, even when both wheelsets use the same nominal axle and rotor standards.
| Symptom | Check first | What to do next |
|---|---|---|
| Continuous light rub | Wheel seating, correct end caps, axle installation and caliper position. | Secure the wheel correctly before following the caliper alignment procedure. |
| Rub once per revolution | Local rotor runout, debris under the mounting face or an incorrectly seated rotor. | Inspect installation and rotor condition; replace a damaged rotor when required. |
| Heavy drag after fitting a new rotor | Rotor thickness approval, pad clearance and piston condition. | Verify compatibility before attempting a brake-specific reset or service procedure. |
| Rattle or movement at the mount | Lockring or bolt security, correct hardware and full seating. | Stop riding and inspect the assembly. Do not assume all movement is harmless. |
| Weak or inconsistent braking | Contamination, worn parts, incomplete bed-in or another brake-system fault. | Diagnose the brake before riding; use qualified service if the cause is uncertain. |
Swapping road and gravel wheelsets?
Using the same approved rotor model and diameter on both sets reduces variables, but does not guarantee adjustment-free swaps. First check seating and alignment. Use rotor-position shims only if explicitly approved for the exact interface and installation; do not improvise with washers or compromise bolt or lockring engagement.
The complete-bike installation checklist
Before the first ride, inspect the whole installation—not just the rotor. A carbon disc wheelset upgrade also involves axle fit, tire clearance and, at the rear, drivetrain compatibility.
- Correct front and rear axle standards, end caps and wheel seating.
- Axles secured to the bicycle manufacturer’s instructions.
- Rotor interfaces matched directly or through an approved adapter.
- Correct front and rear rotor diameters and caliper mounting arrangements.
- Rotor thickness, braking track and pad compound approved together.
- Rotation arrows facing the correct direction.
- Rotor bolts or lockrings fitted with the correct hardware and torque.
- No lockring, rotor, caliper or spoke interference.
- Normal lever feel, secure braking and no unexplained drag.
- Tire/rim compatibility, inflation limits and loaded tire clearance checked.
- Rear freehub, cassette, shifting and derailleur clearance checked.
- Required bed-in completed before long descents or high-speed riding.
Stop before riding if anything is uncertain
Loose mounting hardware, damaged rotors, unexplained lever travel, component contact or abnormal braking are not issues to “ride in.” Have the installation checked by a qualified bicycle mechanic.
Build the specification before the upgrade
Choose the wheel. Confirm the brake interface.
When evaluating a gravel carbon wheelset, put the hub’s rotor mount beside axle fit, freehub compatibility, tire requirements and intended load. Confirm the exact offered configuration before ordering: a category name alone does not establish Center Lock or 6-bolt fitment.
View the XDRU gravel wheelset category →Carbon wheelset and disc rotor compatibility questions
Can I reuse my existing rotors on a new carbon wheelset?
Yes, if the mounting interface matches, the rotors remain within their service limits and the complete brake installation is approved. Recheck direction, hardware, torque and caliper alignment. Reusing the same rotors does not eliminate the need for an installation check.
Can a Center Lock rotor fit a 6-bolt hub?
Not directly. The splined rotor center does not attach to the hub’s six mounting points. The common approved adapter direction is a compatible 6-bolt rotor onto a Center Lock hub, not the reverse. Choose a rotor that matches the hub instead of relying on a hypothetical reverse conversion.
Are Center Lock rotors better for gravel bikes?
Not inherently. Both mounting systems can serve gravel applications. Select the interface that matches the wheel and approved rotor, then assess rotor size, thickness, pad compatibility, servicing requirements and clearance.
Can I change from a 140 mm rotor to a 160 mm rotor?
Only if the frame or fork, brake and mounting arrangement approve that change. You may need the correct caliper adapter or an approved adapter orientation. Check front and rear independently; do not assume approval because the larger rotor physically fits.
Does a 12 mm thru-axle always use an internal-spline lockring?
No. Axle diameter alone does not establish the correct lockring. Check the hub end cap, rotor, lockring dimensions, tool access and clearance to the frame or fork. Use a compatible assembly with full tool engagement.
Why do my disc brakes rub only after changing wheelsets?
The wheel may be seated differently, the rotor may sit in a slightly different lateral position, or the replacement rotor may differ in thickness or condition. Verify wheel installation first, then rotor seating and compatibility, and finally caliper alignment.